| ARC Support
Record of Communication
| Previous Page | Back to list of all ePAD Guides | Next Page |
Record of communication and feedback
Communications for example emails & files etc can be added to the student’s record to be viewed by Practice Assessors, Students and Academic Assessors. This can be especially useful for recording patient feedback that has been provided in a paper format as well as providing an easy way to get in touch with your student and their Academic Assessor.
Please note – your first contact for help and advice remains the placements team either by contacting [email protected] or by contacting the coach in practice on [email protected].
All emails & files added via the record of communication remain in the student’s record for other appropriate staff to view; this can be especially useful as an audit of communications. Please note – your student will also be able to view all communications sent via this method.
Accessing the record of communication
As your student cannot send you a link to this section, you will need to log into the ePAD using your username and password and locate your students as described in this guide.
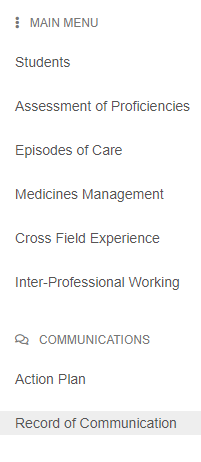
Once you are logged in you can click on the menu at the top left of the screen, this is the three bars icon, and then select Record of Communications from the list.
Once the record of communications screen has opened, please make sure that the correct part (year) has been automatically selected for your student and change it if needed.
Sending an email to student or academic assessor
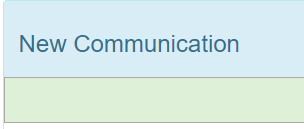
To send an email, first click on the Add New Communication button to the right of the screen.


The list at the bottom of the page is a record of all communications sent during the current part (year) – you can click on view to read any of the available communications.
Uploading files
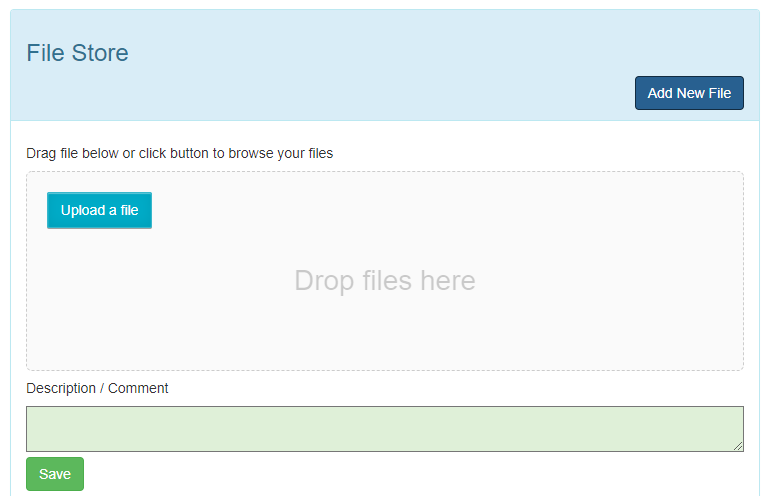
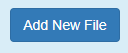
Files, for example a scanned in patient feedback form or letter from a patient / carer can be stored in the student record. As with the emails, you first need to ensure that the correct part (year) has been selected, then click on the Add New File button at the bottom right of the screen.
This will expand the section as shown below. You can either click on the Upload a File button and browse your computer for a specific file, or you can drag and drop the file into the section marked “Drop files here”. You now need to add a comment – this should be a short description of the content of the file e.g. Patient feedback from Placement 1.
Once you have added your files you must click save to save the file.